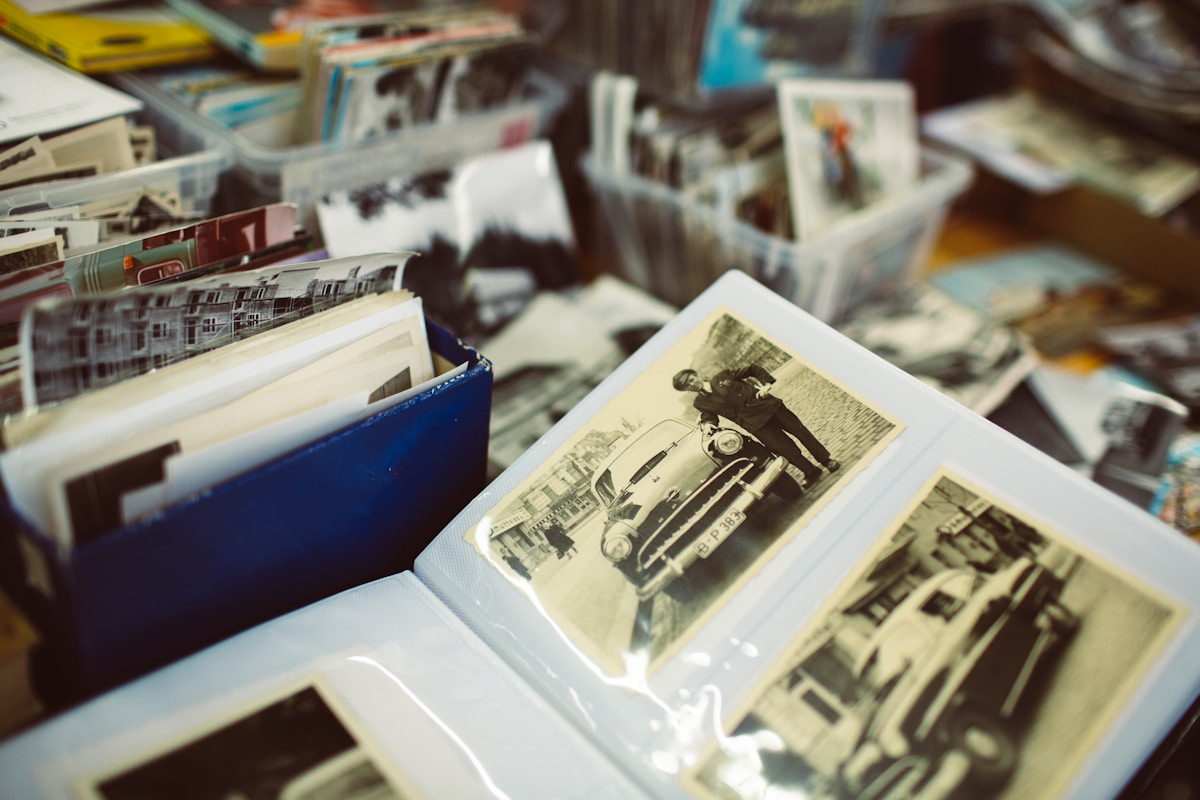
Photographs fade with time, especially ones taken in the earlier days. Preserving those older photographs is highly encouraged and made simple thanks to modern technology. First and foremost, you will need a scanner at hand. If you’ve got one lying around idly, this useful activity will definitely put them to good use. With Mother’s Day just moments away, we figured some old photos could come in handy and in good timing for the perfect Mother’s Day gift.

Today, most photo albums are packed away or put up in dusty shelves, halfway forgotten. Read further for a guide on how to effectively scan your old photos, bring them back to life and transform them.
Step 1: Gather Your Photos
To get a hold of your oldest photos, you’ll probably be going through tons of albums and boxes. Don’t forget the ones on your dusty shelves; you might be surprised as to the pictures you’ve been missing out on. This will take some time, but we assure you it’s more than worth it. Say goodbye to old, worn out albums and make room for preserving those treasured photographs.

Step 2: Arrange Photos, Put In Order
Once you’ve gathered your photos, it’s best that you sort them out and organise. We suggest that you do so by specific order, date, time and place for easier recollection upon filing them later on. Arranging your photos allows you to scan by batch, preventing you from mixing up the pictures. An additional tip, feel free to add notes on the back of your photos to avoid any mix-ups.

Step 3: Start Scanning
Use a scanner that you are most familiarised with for efficiency. Although a traditional scanner is preferred, a mobile phone would work just as well with proper lighting. Consider scanning apps such as Adobe Scan, Cam Scanner or Genius Scan to scan with your phone. In the case that you have more photographs to scan than you can handle, have another family member assist you in scanning the photos to speed things up.

Step 4: Digitise and Save
After the scanning process, consider photo editing applications of your choice for any photos that need retouching. Perhaps some images need sharpening or dust marks removed. When you’re satisfied with your photo edits, save them into folders by category or batch in which you’ve initially organised prior to scanning them.

Step 5: Get Creative
With your newly scanned photos, there are plenty of wonderful ways of repurposing them. Consider Oliphan’s:
Perfect for categorising photographs by events, year, occasion or of your preferred category.

Gives forgotten photographs their own spotlight and can be displayed throughout your space.

Allows you to decorate your wall space with your most treasured photos in stunning displays mounted on timeless frames.

Best suited for an artsy appeal, a framed canvas transforms your photographs into a hanging piece of art.

Get scanning and creative for the ultimate Mother’s Day gift and order your photo prints before 30th April to enjoy FREE SHIPPING nationwide.